USU Design Tools Training
2.4.7: Borders and Spacing
The Borders and Spacing tool adds borders and spacing to paragraphs, headings, and div elements.
Interface
Apply a border to a paragraph, heading, or Div tag
- Open the page for editing.
- Launch the USU Design Tools.
- Place the cursor within the element.
- On the USU Design Tools menu, click Borders and Spacing.
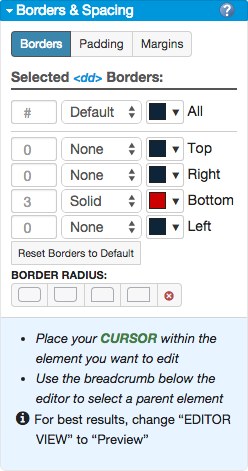
- Click Borders.
- In the Borders boxes, select the border type and color for each side of the border. To make all border sides the same, specify the settings in All box.
- (Optional) In the Border Radius box, select a shape for the edges of the border. The default is straight.
- Click Save.
To reset a border to its default dimensions, select the border, and then click Reset Borders to Default.
Add padding to an element
- Open the page for editing.
- Launch the USU Design Tools.
- Place the cursor within the element.
- On the USU Design Tools menu, click Borders and Spacing.
- Click Padding.
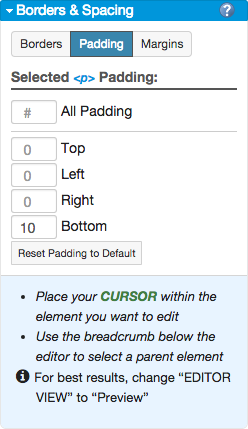
- In the Padding boxes, specify the dimensions for individual padding locations. To make the padding identical on all sides, use the All Padding setting.
- Click Save.
To reset the Padding to its default dimensions, select the element, and then click Reset Padding to Default.
Adjust the margins for an element
- Open the page for editing.
- Launch the USU Design Tools.
- Place the cursor within the element.
- On the USU Design Tools menu, click Borders and Spacing.
- Click Margins.
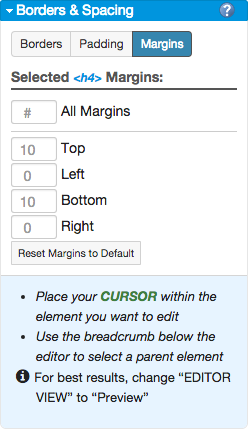
- In the Margins boxes, specify the dimensions for individual margin locations. To make the padding identical on all sides, use the All Margins setting.
- Click Save.